To create a new proposal, click “New Proposal”. Choose a client and a project. If you haven’t created the client or project yet, you can click the + icon to add them now. Creating a proposal is an easy 4 step process.
First, enter some general information. Enter a proposal title, the sender and recipient name as well as addresses. If you filled out your information in your settings and the client details before, the information will be pulled and listed here automatically. Choose the correct currency before clicking “Save and Continue”.
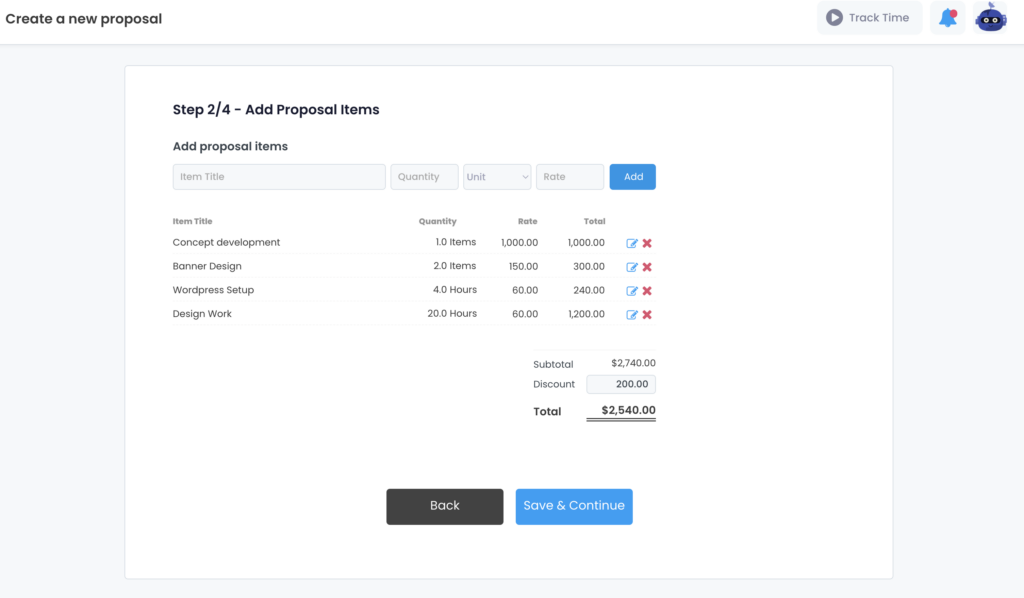
In step 2, enter the proposal items. What work are you planning to complete for the client and how much will each item cost? Enter an item title and the quantity. Decide on how the total will be calculated, whether by units, words, items, hours, days, or months. Enter the rate and click “add”. The proposal items will be listed and the total is automatically calculated. If you’d like, you can enter a discount.
To edit a proposal item, click on the pencil icon or delete an item by clicking the red X icon.
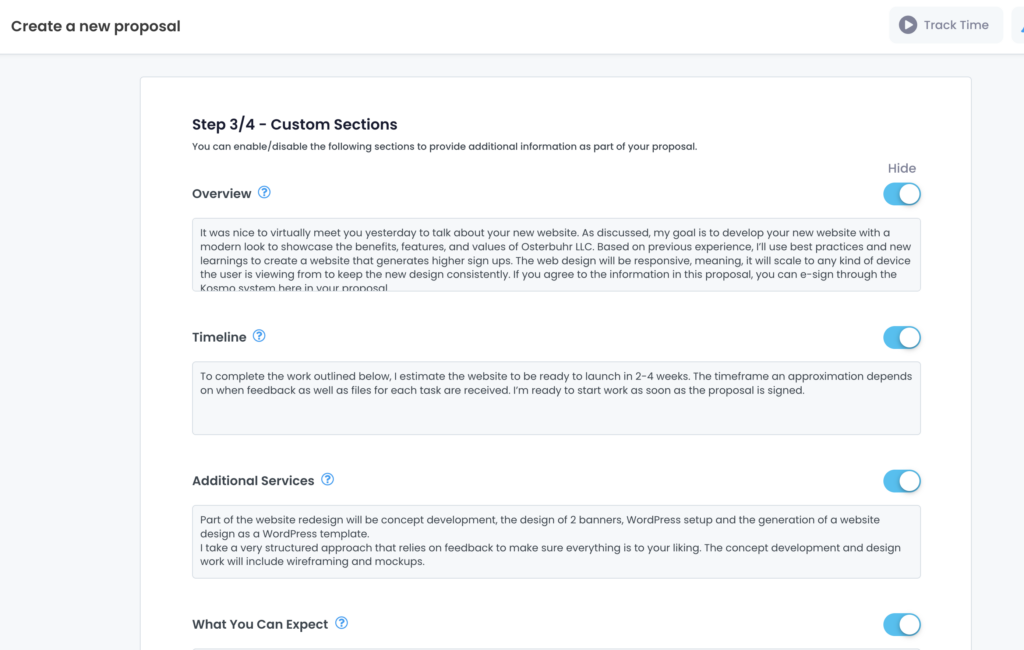
Step 3 is all about the details. You can include or hide custom sections by toggling the blue button on or off.
Overview
Describe the client’s problem and your service/solution. Explain how you work and what the client can expect from working with you.
Timeline
How long will it take to complete the project? Will you provide daily/weekly updates? Set expectations here.
Additional Services
Do you have any additional services to upsell the client? For example, do you also offer monthly content marketing options or things like website maintenance?
What You Can Expect
Out of all the applications that the client receives, why should they choose you? What does your workflow look like?
Notes
The notes (and conditions) section can be used to explain things like when payment is due and if you apply any late fees for non-payment.
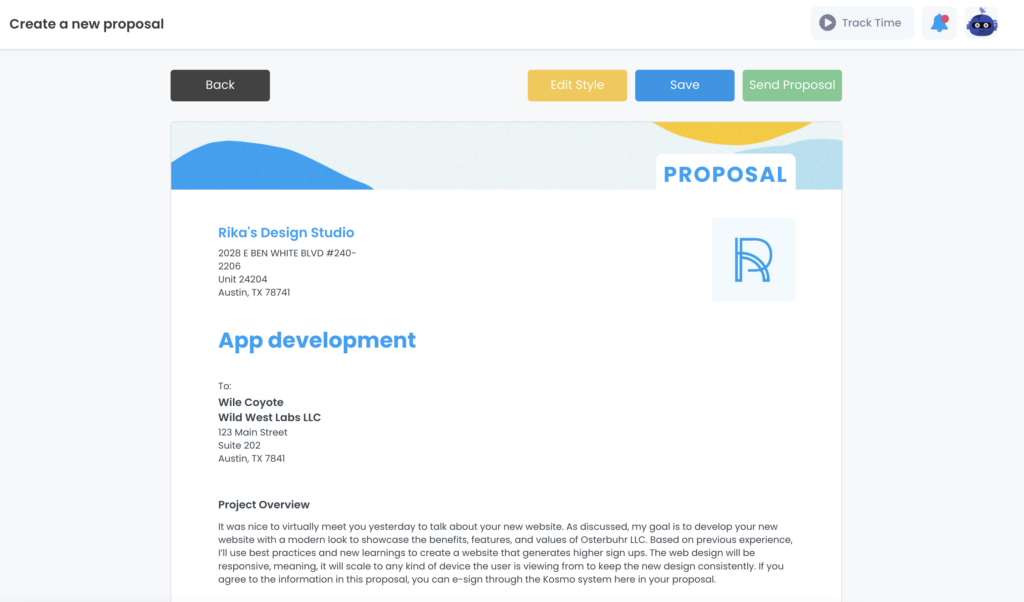
Before finishing the proposal, choose a proposal style in step 4. You can decide on a minimalistic proposal template or choose one to include your branding materials like logo and header. The proposals can also be customized with your brand color. After choosing a proposal style click “preview”. You can now check what the final proposal will look like. To change the colors and to include a logo or banner click “Edit Style”.
To create proposals even quicker, save your brand color, header, and logo under your settings.
When you’re happy with the proposal, sign the proposal and click “Send Proposal”. Enter an email message and “Send a Test Email to Yourself” or send the email directly to your client.