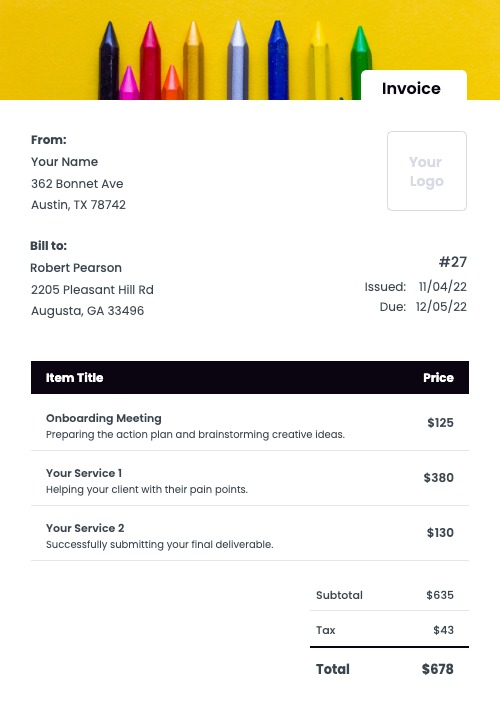
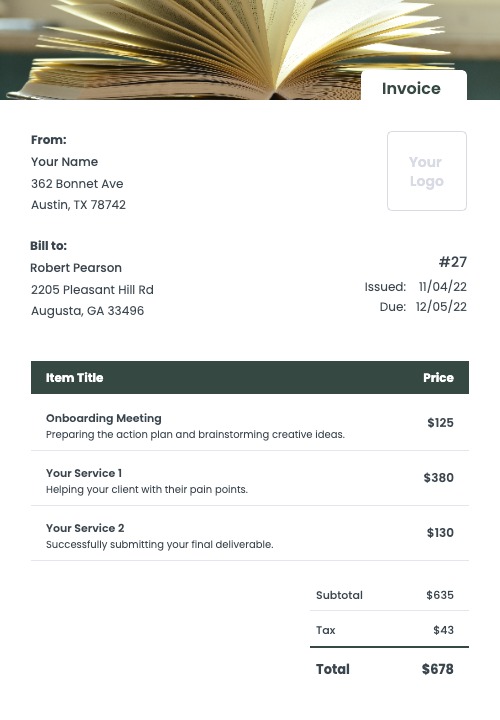
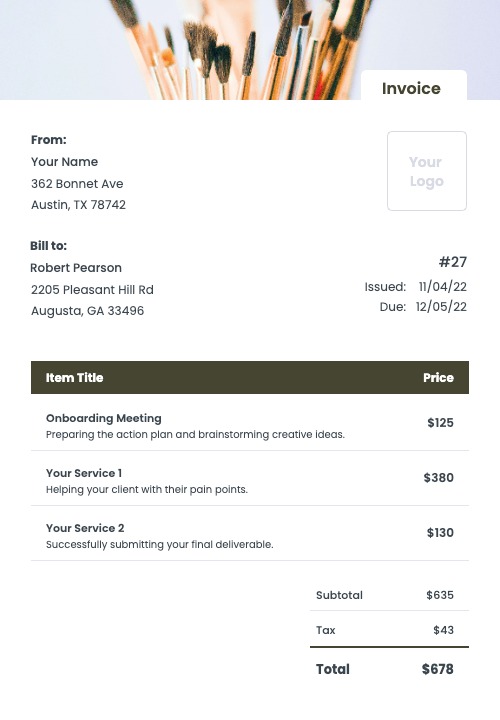
Teacher Invoice Templates
Sending invoices shouldn’t be a hassle. With Kosmo’s teacher invoice template, you can quickly and easily create professional invoices for your tutoring services.
Get paid faster with online payments, automatic late payment reminders, and more. With Kosmo, you can focus on what you’re good at – teaching – and leave the billing to us.
Create Your Own Invoices For Free
How To Create A Teacher Invoice That Gets Paid
As a teacher, you provide a vital service to your students and their families. Your work helps to shape the future of your students, and you deserve to be fairly compensated for your efforts.
To make sure that you are fairly compensated for your work, it is important to itemize your services in your invoices. For example, if you are a tutor, your invoice might include items such as “lesson planning”, “tutoring sessions”, and “homework help”.
If you are a teacher in a school setting, your invoice might include items such as “classroom instruction”, “grading papers”, and “preparing for class”.
By itemizing your services, you can make sure that your clients understand exactly what they are paying for, and you can ensure that you are fairly compensated for your work.
Creating an invoice step by step
- Download a template
- Change the colors of the invoice
- Add your own company information
- Add your client’s details
- Add the line items
- Calculate applicable taxes and discounts
- Check the final amount
- Add your payment terms, notes and a due date
- Send the invoice to your client
- Keep track of paid and unpaid invoices
Or use Kosmo to make the process simple and fast.
Creating A Teacher Invoice With Kosmo

1. Style and customize
Choose an invoice template that suits your industry and style. Next, adjust the invoice by changing the colors and by uploading your logo to match your brand.

2. Enter line items
Enter all items you’d like to bill to the client. Add a title and an optional description to provide more details regarding the work completed. Lastly, add the cost for each item.

3. Send the invoice
Choose your preferred payment method and add any terms & conditions. Hit “send” to email the invoice and receive a notification once your client has paid the invoice.
Get paid on time, every time.
Create professional invoices with Kosmo and level up your business today.
Why Should You Use A Teacher Invoice Template?
Using a teacher invoice template has several advantages. First, it can help you save time by allowing you to quickly create invoices for your clients. Second, it can help you ensure that your invoices are accurate and professional-looking. Third, it can help you keep track of your invoicing history, making it easier to spot errors or discrepancies.

Teacher Invoice Requirements Checklist
- A unique invoice number.
- The payment due date.
- The date when the invoice was issued.
- Your name and/or company name and your contact information.
- Your client’s name and/or company name and contact information.
- A detailed line-by-line break down of your services and products.
- Any applicable taxes and discounts.
- The calculated total price of the invoice.
- Accepted payment methods, for example credit card, check, PayPal and others.
- Additional notes about payment terms, late fees and more.
When Is The Right Time To Send My Teacher Invoice?
The answer to this question depends on a few factors. The first is whether or not you have a contract with the school district or organization that you are teaching for. If you do have a contract, then it is likely that there is a section in there that outlines when you will be paid. Typically, teachers are paid on a bi-weekly or monthly basis. So, if your invoice is due on the 1st of the month, you would want to send it in on or around the 15th of the previous month. This would give the organization time to process your invoice and get the payment to you in a timely manner.
If you do not have a contract, then you will want to send your invoice as soon as possible after the services have been rendered. For example, if you taught a class on October 1st, you would want to send your invoice on or around October 5th. This would give the organization time to process your invoice and get the payment to you in a timely manner.
It is important to note that you should always keep accurate records of the services that you have rendered and the dates that you rendered them. This will help to ensure that you are paid in a timely manner and that you are paid for all of the services that you have provided.
Kosmo vs Manual Invoices
| Feature | Kosmo | Template |
|---|---|---|
| Create professionally designed invoices. | ||
| Securely send invoices to clients via email. | ||
| Get paid faster with online payments. | ||
| Automatically calculate invoice totals. | ||
| Track payments and invoices in real-time. | ||
| Receive automatic reminders for overdue invoices. | ||
| Access your invoices from anywhere in the world. | ||
| Get Started For Free |
How Invoicing Software Can Help You
Save Time
Invoicing software can help you save a lot of time. It allows you to create and send beautiful invoices quickly and easily. This means that you can spend less time on administrative tasks, and more time on your work.
Get Paid Faster
An invoicing software like Kosmo can help you get paid faster. When you send invoices electronically, you can often get paid quicker than if you had to wait for a check to arrive in the mail.
Organize Your Business
When all of your invoices are stored in one place, it is easier to keep track of what is owed and when payments are due. This can help you avoid getting paid late.
Professional Design
With invoicing software, you can often choose from a variety of templates and designs. This means that your invoices will look professional and polished. So take your pick and make your business look great.
Get paid on time, every time.
Create professional invoices with Kosmo and level up your business today.
FAQs (Frequently Asked Questions)
Who needs to use a teacher invoice?
A teacher invoice is a document that is used by teachers to request payment for their services. The invoice typically includes the teacher’s name, contact information, and the details of the services provided. The teacher may also include a brief description of the services rendered, as well as the date or dates of service.
How do you bill for teacher work?
There are a few common ways to bill for teacher work. The most common is by the hour, but some teachers may also charge by the class, project, or semester.
If you charge by the hour, you will need to keep track of the number of hours you work with a student. This can be done by keeping a time sheet or by using a time-tracking app. Once you have the total number of hours, you can multiply this by your hourly rate to get the total cost.
If you charge by the class, you will need to determine how many classes the student will need to take. This can be done by evaluating the student’s goals and level. Once you have the total number of classes, you can multiply this by your per-class rate to get the total cost.
If you charge by the project, you will need to determine the scope of the project and the timeline. This can be done by creating a project proposal. Once you have the scope and timeline, you can multiply this by your per-project rate to get the total cost.
If you charge by the semester, you will need to determine how many weeks the semester is and how many hours per week the student will need. This can be done by evaluating the student’s goals and level. Once you have the total number of hours, you can multiply this by your per-hour rate to get the total cost.
How to create a teacher invoice?
1. Decide what information to include:
Each invoice should include the teacher’s name, address, and contact information. The invoice should also include the name of the school or district, as well as the address and contact information for the school or district. The invoice should also include the dates of the services rendered, a description of the services rendered, and the total amount due.
2. Choose a format:
There are many different ways to format a teacher invoice. You can use a pre-made template, or you can create your own. If you create your own, be sure to include all of the necessary information, and use a professional and easy-to-read font.
3. Send the invoice:
Once you have created the invoice, be sure to send it to the correct person. In most cases, the invoice should be sent to the school or district’s accounting office.
How can I make my teacher invoice stand out?
To make your teacher invoice stand out, you should include a personalized message along with your contact information. This will let your teacher know that you are interested in working with them and will give them a way to get in touch with you if they have any questions. You should also include a list of your qualifications and experience so that your teacher can see that you are qualified to teach their class.
What are some tips for creating a teacher invoice?
When creating a teacher invoice, it is important to include the following information:
1. The name of the teacher
2. The name of the school
3. The dates of the services rendered
4. A description of the services rendered
5. The total amount due
It is also important to format the invoice correctly, so that it is professional and easy to read. Here are some tips for formatting a teacher invoice:
1. Use a clean and simple layout.
2. Include plenty of white space to make the invoice easy to read.
3. Use a professional font, such as Times New Roman or Arial.
4. Be sure to proofread the invoice carefully before sending it out.
What are some common mistakes to avoid when creating a teacher invoice?
When creating a teacher invoice, there are several common mistakes to avoid. First, be sure to include all relevant information, such as the date, your name, the student’s name, and the lesson details. Second, be sure to calculate the correct amount owed, taking into account any discounts or promotions. Finally, be sure to proofread the invoice before sending it to the customer, to avoid any errors.