Roofing Invoice Templates
Sick of chasing down payments from clients? Use a roofing invoice template from Kosmo and get paid faster. With online payments and automatic late payment reminders, you’ll never have to worry about getting paid on time again.
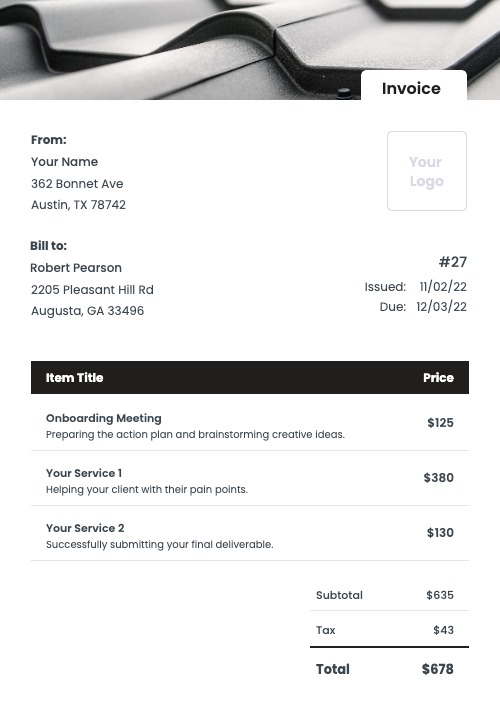
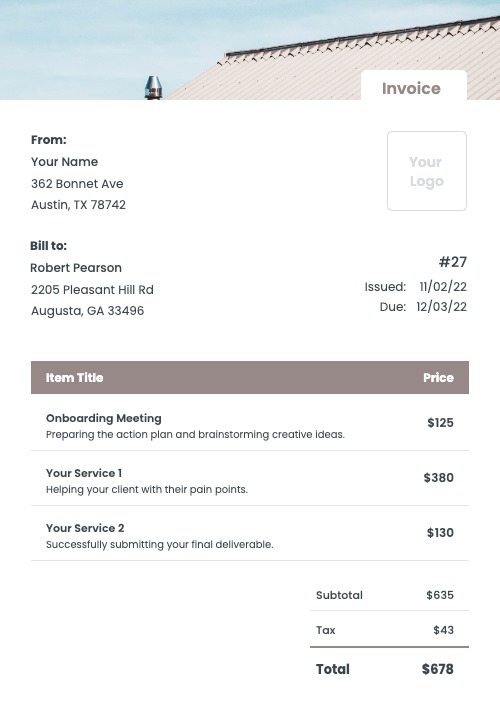
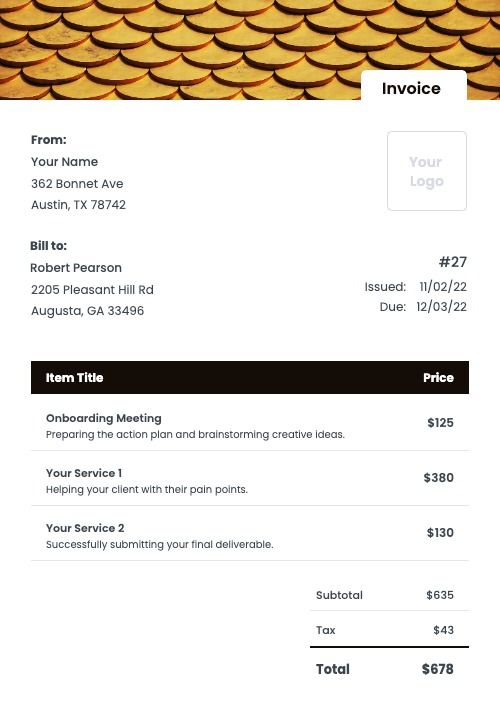
Kosmo’s roofing invoice templates are designed to save you time and help you get paid faster. With a range of beautiful designs to choose from, you can find the perfect template for your business.
Create Your Own Invoices For Free


How To Create A Roofing Invoice That Gets Paid
As a roofing contractor, you provide a vital service to homeowners and businesses. Your clients rely on you to keep their property in good condition and to protect them from the elements.
To ensure that you are fairly compensated for your work, it is important to itemize your services in your invoices. For example, if you are installing a new roof, your invoice might include items such as “removal of old roof”, “installation of new roof”, “installation of flashing”, and “installation of gutters”.
If you are simply repairing an existing roof, your invoice might include items such as “inspection”, “repair of leaks”, “replacement of damaged shingles”, and “cleaning of gutters”.
By itemizing your services, you can make sure that your clients understand exactly what they are paying for, and you can ensure that you are fairly compensated for your work.

Creating an invoice step by step
- Download a template
- Change the colors of the invoice
- Add your own company information
- Add your client’s details
- Add the line items
- Calculate applicable taxes and discounts
- Check the final amount
- Add your payment terms, notes and a due date
- Send the invoice to your client
- Keep track of paid and unpaid invoices
Or use Kosmo to make the process simple and fast.
Creating A Roofing Invoice With Kosmo

1. Style and customize
Choose an invoice template that suits your industry and style. Next, adjust the invoice by changing the colors and by uploading your logo to match your brand.

2. Enter line items
Enter all items you’d like to bill to the client. Add a title and an optional description to provide more details regarding the work completed. Lastly, add the cost for each item.

3. Send the invoice
Choose your preferred payment method and add any terms & conditions. Hit “send” to email the invoice and receive a notification once your client has paid the invoice.
Get paid on time, every time.
Create professional invoices with Kosmo and level up your business today.
Why Should You Use A Roofing Invoice Template?
A roofing invoice template can save you a lot of time and money when billing your customers for roofing services. With a template, you can simply enter the necessary information into the template and print it out, rather than having to create a new invoice from scratch each time. This can save you a considerable amount of time, especially if you have a large number of customers. In addition, a template can help to ensure that your invoices are accurate and contain all of the necessary information. This can save you from having to make corrections or additions to your invoices after they have been printed, which can save you both time and money.

Roofing Invoice Requirements Checklist
- A unique invoice number.
- The payment due date.
- The date when the invoice was issued.
- Your name and/or company name and your contact information.
- Your client’s name and/or company name and contact information.
- A detailed line-by-line break down of your services and products.
- Any applicable taxes and discounts.
- The calculated total price of the invoice.
- Accepted payment methods, for example credit card, check, PayPal and others.
- Additional notes about payment terms, late fees and more.
When Is The Right Time To Send My Roofing Invoice?
The right time to send a roofing invoice is after the job is completed and the customer is satisfied with the work. You should always get an approval from the customer before sending the invoice to make sure they are happy with the work and there are no issues that need to be addressed. If everything is good, then you can go ahead and send the invoice.
Kosmo vs Manual Invoices
| Feature | Kosmo | Template |
|---|---|---|
| Create professionally designed invoices. | ||
| Securely send invoices to clients via email. | ||
| Get paid faster with online payments. | ||
| Automatically calculate invoice totals. | ||
| Track payments and invoices in real-time. | ||
| Receive automatic reminders for overdue invoices. | ||
| Access your invoices from anywhere in the world. | ||
| Get Started For Free |
How Invoicing Software Can Help You
Save Time
Invoicing software can help you save a lot of time. It allows you to create and send beautiful invoices quickly and easily. This means that you can spend less time on administrative tasks, and more time on your work.
Get Paid Faster
An invoicing software like Kosmo can help you get paid faster. When you send invoices electronically, you can often get paid quicker than if you had to wait for a check to arrive in the mail.
Organize Your Business
When all of your invoices are stored in one place, it is easier to keep track of what is owed and when payments are due. This can help you avoid getting paid late.
Professional Design
With invoicing software, you can often choose from a variety of templates and designs. This means that your invoices will look professional and polished. So take your pick and make your business look great.
Get paid on time, every time.
Create professional invoices with Kosmo and level up your business today.
FAQs (Frequently Asked Questions)
Who needs to use a roofing invoice?
A roofing invoice is used by roofing contractors to itemize the services provided and the costs associated with a roofing job. This type of invoice is used to request payment for roofing services from the customer. The roofing invoice should include the contractor’s name and contact information, the customer’s name and contact information, a description of the services provided, the date the services were provided, the cost of the services, and the method of payment.
How do you bill for roofing work?
There are a few different ways that roofing work can be billed. The first way is by the square footage of the roof. This is typically done for new construction projects or for very large roofing projects. The second way is by the hour. This is typically done for smaller roofing projects or for roofing projects that are part of a larger construction project. The third way is by the job. This is typically done for repairs or for very small roofing projects.
How to create a roofing invoice?
When creating an invoice for roofing services, be sure to include all pertinent information about the job. This includes the roofing materials used, the size of the roof, the scope of work, and the price. Be sure to itemize each line item on the invoice so that the customer knows exactly what they are paying for.
In addition, be sure to include your company’s contact information on the invoice in case the customer has any questions. You may also want to include a payment due date and late payment fee on the invoice to ensure timely payment.
By following these tips, you can create a professional and detailed invoice for roofing services that will help you get paid promptly.
How can I make my roofing invoice stand out?
If you want your roofing invoice to stand out, you should consider adding a personal touch. This could be something as simple as adding a handwritten note thanking the customer for their business. You could also include a coupon for a discount on future services. Another idea is to include a photo of the completed roofing project. This will help the customer remember your work and be more likely to recommend you to others.
What are some tips for creating a roofing invoice?
There are a few key things to remember when creating a roofing invoice. First, be sure to include all relevant information such as the customer’s name, address, and contact information. Next, list the services performed and the corresponding costs. Finally, include any additional information that may be relevant such as a warranty or guarantee.
When it comes to roofing, it is important to be as detailed as possible on your invoices. This way, your customers can easily understand what they are being charged for and why. Be sure to itemize each service performed and include the cost of materials used. If you offer any warranties or guarantees, be sure to include that information as well.
By following these tips, you can create a roofing invoice that is clear, concise, and informative. Your customers will appreciate the level of detail and will be more likely to pay their invoice in a timely manner.
What are some common mistakes to avoid when creating a roofing invoice?
1. Not including all the necessary details. An invoice should include the date, a description of the work performed, the cost of materials, the cost of labor, and the total amount due. Leaving out any of this information can cause confusion and delay in getting paid.
2. Charging too much or too little. It’s important to make sure your prices are accurate and in line with what you typically charge for similar jobs. Overcharging can scare away potential customers, while undercharging can leave you losing money on the job.
3. Not sending the invoice in a timely manner. Try to send invoices as soon as the job is completed, or at least within a few days. This will help ensure that you get paid in a timely manner and avoid any late fees or interest charges.
4. Failing to follow up. If you don’t receive payment within a reasonable timeframe, don’t be afraid to follow up with the customer. A polite reminder can often be all it takes to get the ball rolling on getting paid.